How To Screenshot On Dell Laptops
How To Screenshot On Dell Laptops!
Capturing moments, saving important information, or simply sharing something interesting with others – screenshots have become an integral part of our digital lives. If you’re a proud owner of a Dell laptop and find yourself wondering how to take screenshots effortlessly, you’ve come to the right place! In this guide, we’ll walk you through different methods for capturing your screen on a Dell laptop, from using built-in Windows tools to exploring third-party software options. Let’s dive in and unleash the power of screenshotting on your Dell device!
Different Methods for Taking Screenshots on Dell Laptops
When it comes to capturing what’s on your Dell laptop screen, there are various methods you can use to take screenshots effortlessly. One common way is by using the built-in Windows tools that come with your operating system.
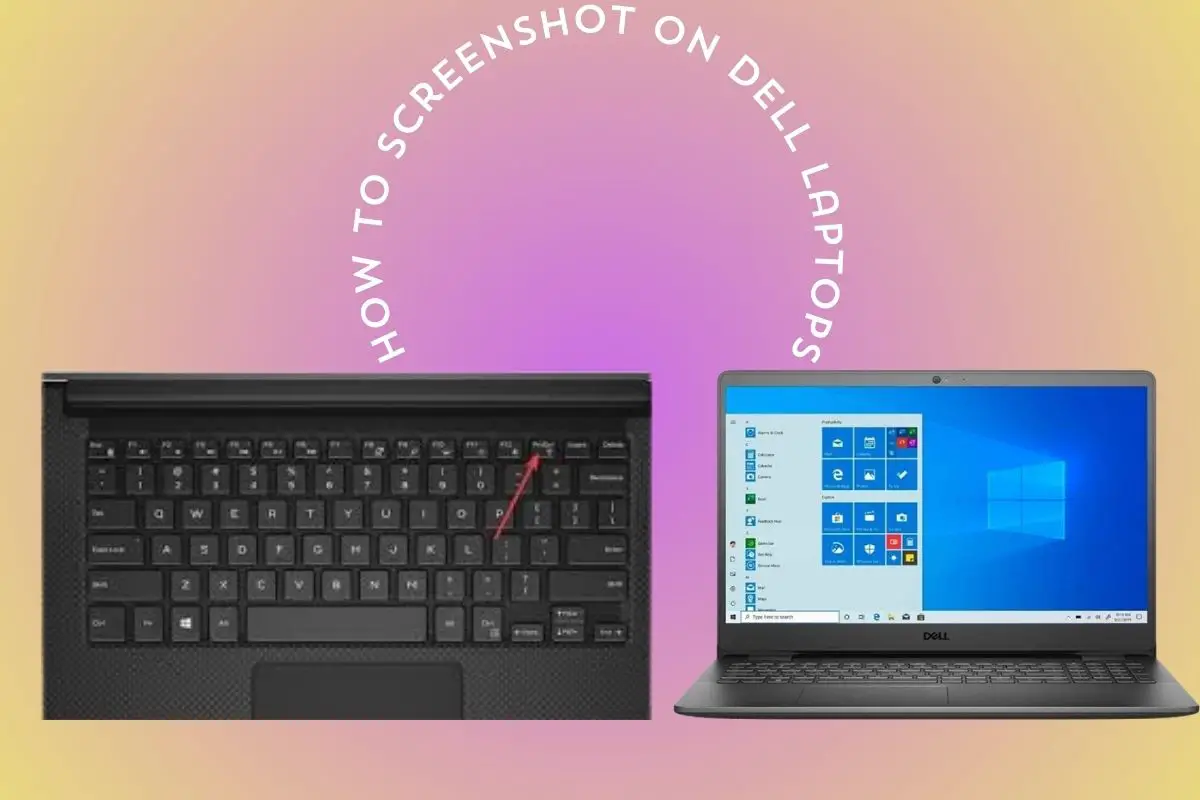
The simplest method is pressing the “PrtScn” key to capture the entire screen and then paste it into an image editing program or document. If you only want to screenshot the active window, press “Alt + PrtScn” instead.
Another option for Dell users is utilizing third-party software specifically designed for taking screenshots. These tools often offer more features and flexibility than the native Windows options.
No matter which method you choose, mastering the art of screenshotting on your Dell laptop can be a game-changer in how you save and share important information with others seamlessly.
Using Built-in Windows Tools for Screenshots
Looking to capture your screen on your Dell laptop? You’re in luck because Windows provides built-in tools for just that! Using these tools is quick and easy, making it a breeze to screenshot on your device.
One popular method is using the “Print Screen” key. Simply press this key to copy a screenshot of your entire screen to the clipboard. From there, you can paste it into an image editing program or document.
For more control over what you capture, try using “Windows Key + Shift + S.” This shortcut allows you to select a specific area of the screen to screenshot. It’s perfect for focusing on just what you need without cluttering up your shot.
If you want even more flexibility, check out the Snipping Tool or Snip & Sketch app. These built-in Windows features offer advanced options for capturing screenshots with precision and customization. Give them a try next time you need to grab an image from your Dell laptop!
Third-Party Software Options for Screenshotting
Looking to up your screenshot game on your Dell laptop? Third-party software options can provide advanced features and flexibility for capturing screenshots with ease.
One popular choice is Snagit, offering a user-friendly interface and powerful editing tools. With just a few clicks, you can capture full-screen shots or specific areas of your screen.
Another great option is Lightshot, known for its simplicity and quick sharing capabilities. This lightweight tool allows you to annotate screenshots before saving or sharing them effortlessly.
If you’re looking for more customization options, Greenshot might be the right choice for you. This versatile tool lets you capture entire web pages, add annotations, and even send screenshots directly to email or social media platforms.
Exploring different third-party software can help tailor your screenshotting experience to suit your needs best.
Tips and Tricks for Better Screenshots on Dell Laptops
When it comes to capturing the perfect screenshot on your Dell laptop, a few tips and tricks can make all the difference. First off, consider using keyboard shortcuts like “Print Screen” or “Alt + Print Screen” for quick captures. These shortcuts can save you time and hassle while taking screenshots.
Another handy tip is to utilize the Snipping Tool available on Windows laptops. This tool allows you to select specific areas of your screen for more precise screenshots. Experiment with different modes within the Snipping Tool to find what works best for your needs.
To ensure high-quality screenshots, adjust your display settings if needed. Brightness and resolution play a significant role in how clear your screenshots turn out. Additionally, organizing your desktop icons beforehand can help avoid clutter in your screenshots.
Don’t forget about editing options after taking a screenshot. Software like Microsoft Paint or third-party apps offer simple editing tools to enhance or annotate your screenshots before sharing them with others.
Troubleshooting Common Issues with Screenshotting on Dell Laptops
Encountering issues while trying to take screenshots on your Dell laptop can be frustrating, but fear not – there are solutions to common problems you may face.
If your screenshot key combinations aren’t working as expected, double-check the keyboard settings and ensure that the keys are functioning correctly. Sometimes a simple restart of your laptop can resolve this issue.
Another common problem is not being able to locate where your screenshots are saved. Make sure to check the default save location in your system settings or change it to a more accessible folder for easier retrieval.
If you’re experiencing blurry or distorted screenshots, it could be due to display settings. Adjusting the screen resolution can help improve the quality of your captures.
In case you encounter error messages while trying to take screenshots, updating your operating system and drivers can often resolve these issues. Keeping your software up-to-date is essential for smooth screenshotting functionality on your Dell laptop.
Conclusion: How To Screenshot On Dell Laptops
Screenshotting on Dell laptops can be a valuable tool for capturing important information or sharing moments with others. By utilizing the different methods discussed in this article, you can easily take screenshots on your Dell laptop without any hassle.
Whether you prefer using built-in Windows tools like Snipping Tool or Snip & Sketch, or opt for third-party software options like Lightshot or Greenshot, there are plenty of ways to capture what’s on your screen effectively.
Remember to experiment with different techniques and settings to find what works best for you. And if you encounter any issues along the way, refer back to our troubleshooting tips to help resolve them quickly.
With these tools and tricks at your disposal, screenshotting on your Dell laptop will become second nature in no time. So go ahead, start snapping those screens and make the most out of your computing experience!


