How to Connect Nintendo Switch to Laptop
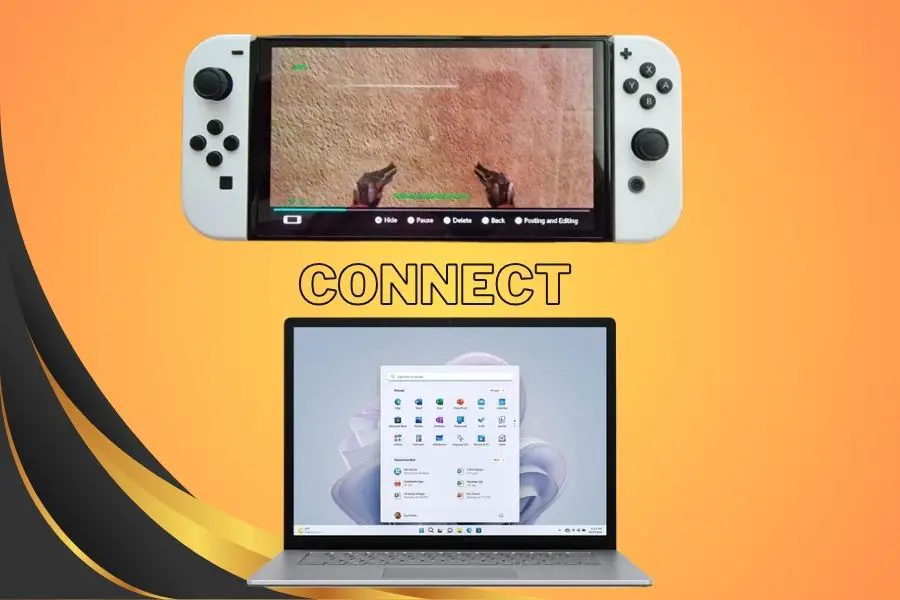
As a tech enthusiast and someone who loves exploring the boundaries of what my gadgets can do, connecting my Nintendo Switch to my laptop was something that intrigued me for a long time. I remember looking at my Switch and thinking, What if I could play these amazing games on my laptop screen or even record them for my YouTube channel? It was more than just curiosity—it became a personal challenge.
After some trial and error (and yes, a few moments of frustration), I figured it out. Now, I want to share my experience with you, step by step, so you can do the same. And trust me, once you’ve set everything up, you’ll wonder why you didn’t do this earlier.
Why Connect Your Nintendo Switch to a Laptop?
Let me start by saying that connecting the Nintendo Switch to a laptop is an absolute game-changer. It opens up new ways to experience the device, like using your laptop as a monitor for a larger screen or even streaming your gameplay online. Here’s why you might want to consider this:
- Bigger Display: The Switch’s portable screen is great for gaming on the go, but when you want to immerse yourself in a game like Zelda or Super Smash Bros., a bigger display on your laptop feels more satisfying.
- Recording Gameplay: Want to capture those epic moments in Mario Kart or Fortnite? Using your laptop as a hub allows you to record and save your gameplay.
- Live Streaming: If you’re into streaming, you’ll need to connect your Switch to your laptop to broadcast gameplay on Twitch or YouTube. This was a big deal for me as a content creator—it opened doors I didn’t even know existed!
- Productivity and Gaming: You can easily switch between your gaming setup and other work tasks, which is something I often do, especially when working from home.
What You Need to Get Started
Before we jump into the actual process, here’s what you’ll need. I’ve gathered all the essentials, so you won’t find yourself stuck halfway through (like I did initially).
- Nintendo Switch Console – The star of the show!
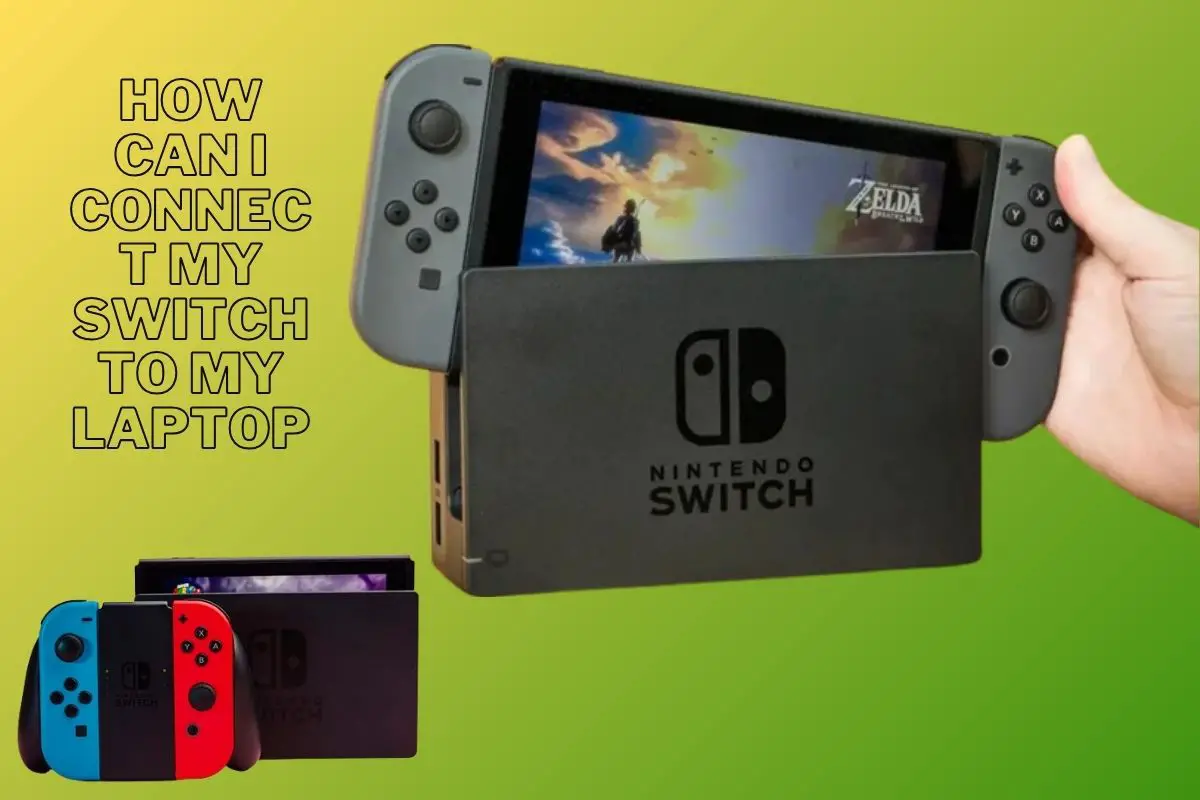
- Nintendo Dock – This is essential because the HDMI output is only available through the dock.
- HDMI Cable – You’ll need this to connect your Switch Dock to your laptop.
- Capture Card – A capture card, like the Elgato HD60 S, is what I personally use. It helps transmit video signals from your Switch to your laptop.
- USB Cable – This will connect the capture card to your laptop.
- Video Capture Software – Programs like OBS (Open Broadcaster Software) are essential for capturing or streaming gameplay.
When I first started, I skipped the capture card, thinking a simple HDMI cable would do the trick. Spoiler: it didn’t. Laptops don’t have HDMI input ports, only output, so a capture card is a must. I found this out the hard way, but once I got everything right, it was smooth sailing!
Step-by-Step Guide to Connecting Your Nintendo Switch to a Laptop
Now, let’s get into the juicy part. Here’s the step-by-step process I followed to connect my Nintendo Switch to my laptop successfully.
Step 1: Connect the HDMI Cable to Your Nintendo Dock
Start by connecting one end of your HDMI cable to the Nintendo Switch Dock. The HDMI port is located at the back of the dock. Then, plug the other end of the HDMI cable into the input port of your capture card.
This setup ensures that your Nintendo Switch’s video output is transmitted through the capture card, allowing it to be displayed on your laptop screen.
Step 2: Plug the Capture Card into Your Laptop
Once the HDMI cable is connected, you’ll want to link your capture card to your laptop. Most capture cards come with a USB cable (mine did), which you’ll connect from the capture card’s output port to your laptop’s USB port.
At this point, the capture card will be able to transfer the video signals from your Switch to your laptop.
Step 3: Download and Install OBS
The next step involves setting up OBS (Open Broadcaster Software), which is free and easy to use. I found OBS incredibly helpful when recording my gameplay and even live streaming. Here’s what you need to do:
- Download and install OBS from the official website.
- Once installed, open the software and add a new video capture source by clicking the “+” under the Sources tab.
- Select your capture card from the dropdown menu, and boom—your Nintendo Switch screen should appear in OBS.
This moment felt magical for me. It was like I unlocked a whole new level of gaming tech. Seeing my Nintendo Switch games pop up on my laptop screen was surreal. I knew I was now ready to record gameplay, stream online, or even just enjoy gaming on a bigger screen.
Step 4: Adjust the Audio and Video Settings
One thing I realized early on is that the default settings might not always be perfect. So, it’s worth spending a few minutes adjusting the audio and video settings in OBS to match your preferences.
If you notice a delay in the video feed, you might need to tweak the latency settings in OBS. I encountered this issue once while trying to live stream, but after adjusting a few settings, the delay disappeared.
Step 5: Start Playing or Streaming
And that’s it! You’re all set. Whether you want to stream your gameplay to Twitch or just play your favorite Switch games on a bigger screen, you can now do so with ease.
For me, this was a huge step forward, especially when I began recording my gameplay. Having the ability to connect my Switch to my laptop and then share my experiences on platforms like YouTube was a game-changer. It felt like my gaming setup had evolved into something much more professional.
Troubleshooting Tips Based on My Experience
Even though the process seems straightforward, a few bumps in the road are inevitable. Here’s what I learned while troubleshooting common issues:
- No Video Display on OBS: If the Switch screen doesn’t appear in OBS, double-check that the HDMI cable is securely connected and that you’ve selected the correct source in OBS.
- No Audio Output: I faced this problem once. It turned out I hadn’t selected the capture card as the audio source in OBS. To fix this, go to Settings > Audio and choose your capture card.
- Video Lag: When streaming, you might encounter lag due to high resolution. Lower the output resolution in OBS if your laptop struggles to handle the load. I had to reduce my settings the first time I streamed, but the quality remained excellent.
My Final Thoughts on Connecting Nintendo Switch to a Laptop
For me, connecting my Nintendo Switch to my laptop opened up so many possibilities—not just for gaming, but for content creation as well. From recording gameplay to streaming online, the ability to link these two devices together felt like a game-changing discovery.
At first, I was hesitant, mainly because I thought the process would be too complicated. But once I figured out the right setup (thanks to the capture card), it was surprisingly easy. Now, whether I’m playing Animal Crossing, Super Smash Bros., or Zelda, I always have the option to play on a bigger screen, record my gameplay, or stream for my audience.
If you’re a gamer or content creator looking to enhance your gaming experience, this setup is definitely worth exploring. And with the steps I’ve outlined above, I’m confident you’ll be able to do it too, just like I did!
FAQs
Can I connect my Nintendo Switch to my laptop without a capture card?
No, you need a capture card because laptops don’t have an HDMI input port. A capture card helps transmit the video from your Switch to your laptop.
What software do I need to connect my Nintendo Switch to my laptop?
You need video capture software like OBS (Open Broadcaster Software) to display and record your Nintendo Switch gameplay on your laptop.
Why is my Nintendo Switch not displaying on my laptop?
Make sure the HDMI cable is properly connected to both the Nintendo Dock and the capture card, and that you’ve selected the correct video source in OBS.

